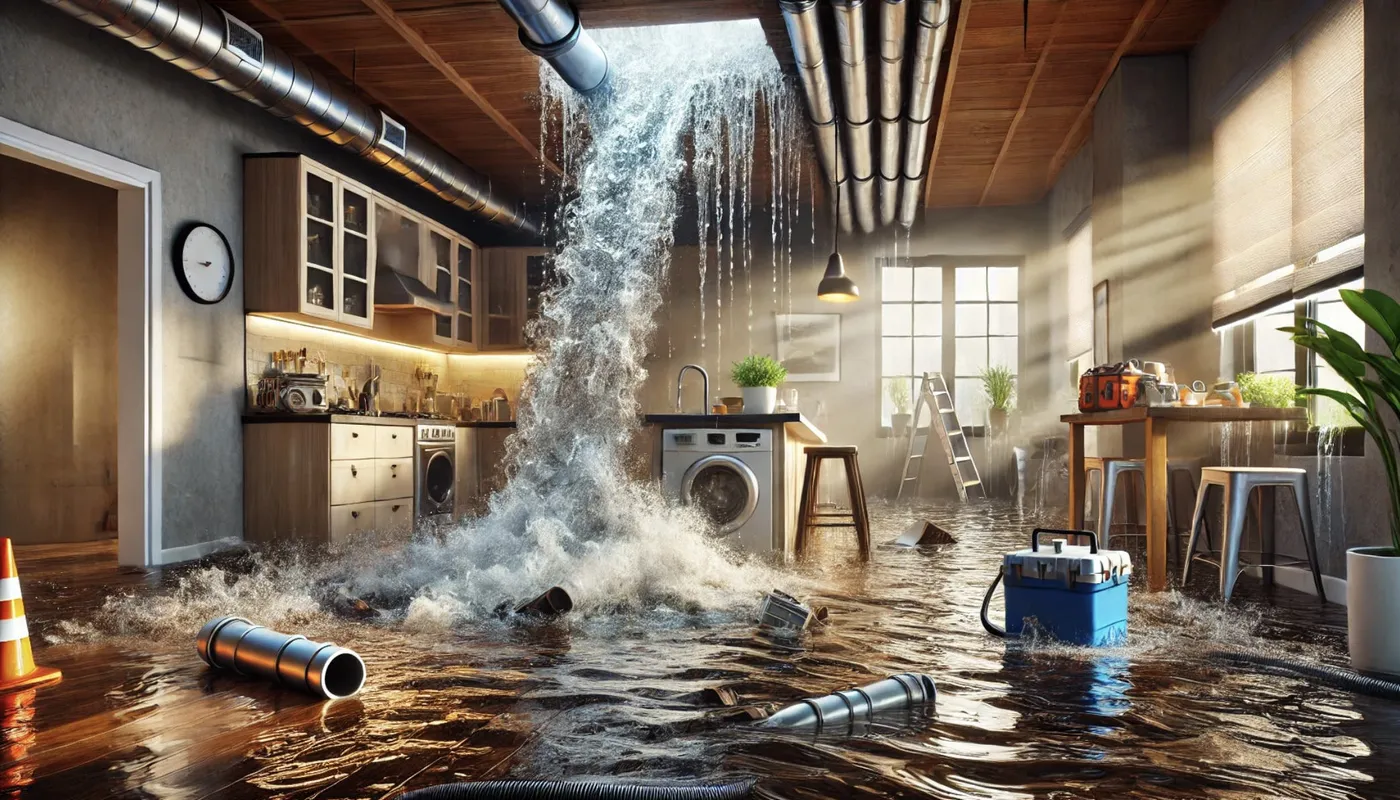
The first hour decides most of what the next three months will cost. The order that matters is safety, then source, then evidence, then water removal, and clean-up belongs last rather than first.
A flooded house presents two urges at once: get the water out, and start cleaning. Both are right eventually and both are wrong immediately. The order that protects people, property and any later claim is safety first, then the source, then the evidence, then water removal. Cleaning up comes after all of those, because a room that has been tidied, mopped and aired has lost most of the information about what happened in it.
This sets out that sequence, the decisions inside each step, and the mistakes that reliably turn a manageable incident into a long one. None of it requires equipment and most of it is done in the first hour.
The First Ten Minutes
Nothing about the plumbing matters until the electrical situation is resolved. Water finds cable routes, light fittings, socket backs and consumer units, and a ceiling holding water above a lit room is an electrical hazard rather than a decorating problem.
Electricity comes before everything
- If it is safe and dry to reach, switch off the consumer unit. If reaching it means standing in water or touching a wet surface, do not.
- Do not operate any switch, socket or appliance that has been wet, and do not unplug anything standing in water.
- Do not stand under a bulging ceiling to place a bucket. A plasterboard ceiling holding water can come down in one piece and it will be carrying live cabling and light fittings.
- If water has reached the consumer unit, or lights are flickering or tripping, treat it as an electrical emergency and leave the circuits off until an electrician has seen it.
- Turn off gas at the meter if there is any smell of gas or if the flooding has reached appliances, and call the national gas emergency service on 0800 111 999 if you smell gas.
Our note on water leaks and electrical safety covers the hazards in more detail, including what it means when an RCD trips repeatedly.
When leaving is the right decision
Get everyone out, including pets, and do not go back in if the water is rising, if it is coming from outside and still flowing, if there is any electrical involvement you cannot isolate safely, if there is a smell of gas, or if the water is foul. Property is recoverable and a decision taken standing in water at midnight rarely is.
Work Out Where the Water Came From
This is the step people skip, and it determines everything that follows: how you stop it, how dangerous it is, and how it will be treated on a buildings policy.
| Source | How you can tell | What it changes |
|---|---|---|
| Internal escape from a pipe, tank or appliance | Clean water, no weather event, often warm, worse when a system is running | Isolating the right system stops it; usually falls under the escape of water peril |
| External flood, river, surface or groundwater | Arrives during or after heavy rain, enters at low level from outside, often silty | Nothing internal will stop it; a different policy section entirely |
| Rainwater ingress through the fabric | Follows storms, appears at roof, window or chimney lines, dries between events | A building repair rather than a plumbing one |
| Drainage backing up | Foul smell, appears at the lowest fittings first, gurgling elsewhere | Contaminated water, and the priority becomes health rather than property |
| A leak from a neighbouring property | Ceiling or party wall involvement, nothing wrong with your own systems | Access and liability become the immediate issue |
Why the source changes the whole response
Clean water from a burst supply pipe and foul water from a backed up drain look similar on a floor and are completely different problems. The water damage restoration standards used across the drying industry separate water into clean, grey and contaminated categories precisely because the third requires protective equipment, disposal of porous materials rather than drying them, and sanitisation. If the water smells, assume the worst category and stop handling it directly. Wash thoroughly, keep children and pets away, and do not attempt to salvage soft furnishings or carpet that has been in it.
Stop the Source
| If the water is | Do this | Then |
|---|---|---|
| Coming from the mains | Close the internal stop tap, usually under the kitchen sink, in a hall cupboard or under the stairs | Open the lowest cold tap to drain the system and drop the pressure |
| Coming from a loft tank | Close the gate valve on the tank outlet, and tie up the ball valve if the tank is overflowing | Open the fed taps until flow stops |
| From the hot water system | Switch off the boiler or immersion, then close the cold feed to the cylinder | Let it cool before touching anything |
| From the heating | Switch off the boiler and close the valves either side of the affected section where fitted | Do not top the pressure back up |
| From an appliance | Close the small isolating valve on its supply with a flat screwdriver | Check it has actually shut; these seize and pass |
| From the flat above | Get access if you safely can, and contact the managing agent or freeholder | Do not cut a ceiling to drain it unless advised; it may be carrying cabling |
| From outside | Nothing internal will help | Move upwards, protect what you can, and wait for the water to recede |
If the stop tap will not turn or turns without stopping the flow, that becomes the immediate problem. Our guide to turning off the water at the stop tap covers the alternatives, including the external boundary valve.
Protect the Evidence Before You Clean Up
Ten minutes of recording, taken before anything is moved, is worth more than anything produced later. It is also the part that cannot be repeated once the room has been cleared.
What to photograph and record
- Wide shots of every affected room from the doorway, before anything is moved or mopped.
- The water level against a fixed reference such as a skirting board, a door frame or a stair riser.
- Close-ups of the source if it is visible, and of the failed component itself.
- Damaged contents in place, not stacked in a pile outside.
- The ceiling from below and, where safe, the floor above.
- A short video walking through, narrating the date, time and what you are looking at.
- Meter and boiler pressure gauge readings, with the time visible.
- A written note of the times: when it was discovered, when it was isolated, when you called anyone.
Keep receipts for everything you buy or hire from this point on, including a dehumidifier, and keep them separate from the repair costs. Our water leak emergency checklist covers the same ground as a printable sequence.
Notify early, and in writing
Policies require notification as soon as reasonably possible, and waiting a fortnight to collect quotes before telling the insurer turns a straightforward claim into an argument about whether the damage was allowed to worsen. Record the reference, the time and the name of whoever you spoke to. Ask, in writing, whether they will instruct any investigation or whether they want you to, because opening up a floor or ceiling before that conversation is the most common way to create damage that nobody has authorised.
Getting the Water Out and Starting to Dry
Once it is safe, isolated and recorded, removal is straightforward and speed genuinely matters. Standing water is the visible problem and absorbed water is the expensive one.
- Remove standing water with a wet vacuum, a pump or, failing both, buckets and towels.
- Lift carpets and underlay and get them out of the room. Underlay holds an enormous amount of water and is rarely salvageable.
- Open internal doors, cupboards and drawers, and lift furniture onto blocks or foil.
- Ventilate, but use judgement about opening windows: on a cold dry day it helps, on a warm humid one it can make things worse.
- Run a dehumidifier in a closed room rather than an open one, because a dehumidifier working against outside air achieves very little.
- Do not use central heating on full to force drying. Rapid, uneven drying warps timber, lifts plaster and cracks joinery.
What can be saved depends on the material and on which category the water fell into, and the decision is easier to make deliberately than in a panic on day two.
| Material | Clean water from a supply or heating leak | Contaminated water from drainage |
|---|---|---|
| Carpet | Often salvageable if lifted and dried quickly | Dispose of it, and photograph it first |
| Underlay | Rarely worth keeping; it holds a great deal of water | Dispose of it |
| Solid and engineered timber flooring | Can recover if dried slowly and evenly, though cupping is common | Usually lifted and replaced |
| Chipboard and laminate | Swells irreversibly once saturated | Replace |
| Plasterboard | Often dries out; wicking up a wall may require cutting back | Cut back above the contaminated line |
| Insulation in floors and walls | Holds water for a long time and slows everything around it | Remove and replace |
| Upholstered furniture and mattresses | Depends on how long it was wet and how deep it went | Dispose of it on health grounds |
| Electrical items that have been wet | Have them inspected before use, whatever they look like | Have them inspected before use |
What drying actually involves, and why it takes weeks
Surfaces feel dry long before a structure is dry. Water moves into plaster, screed, insulation, floor build-ups and the bottoms of stud walls, and that water comes out slowly and only when the air around it is dry enough to accept it. Professional drying is measured rather than assumed, using moisture readings taken from the same points over time until they return to a normal range for the material. A room that feels fine after five days can easily have weeks left in the floor, and reinstating a finish over a substrate that is still wet is how a second round of damage gets built in. That is the reason a drying contractor will want to keep equipment running past the point where the property looks and smells normal, and why agreeing a target reading at the start is more useful than agreeing a number of days. Our guide to drying out your home after a water leak covers what to expect and how progress is confirmed.
What Goes Wrong in the First Forty Eight Hours
Four mistakes account for most of the avoidable cost, and each one is made with good intentions.
Cleaning up before recording anything
The instinct to restore order is strong and it destroys the record. A mopped floor, cleared contents and a wiped down wall leave nothing to photograph and no way to demonstrate the extent. Record first, then clean.
Cutting into a floor or ceiling to find the leak
This is the most expensive of the four. The distribution of moisture across a floor or ceiling is itself the evidence of where the water travelled from, and the first person to cut into it removes that. It also creates search damage that nobody authorised, and it is why properties frequently get attended twice. Where the source is not obvious, a non-invasive survey is what establishes it before anything is opened. Our emergency leak detection page sets out what that involves.
Drying against a source that is still running
Equipment set up before the leak is isolated runs for longer, costs more and achieves less, and in a concealed leak the source is often still live because nobody has confirmed which system it came from. Confirm the source is isolated rather than merely turned down before anyone plugs anything in.
Disposing of damaged items before they are recorded
Damaged contents need photographing in place, listing with a description, and ideally keeping until they have been seen or their disposal agreed. A skip filled on day one removes the evidence for that part of the loss entirely. The exception is anything that has been in contaminated water, which should be disposed of on health grounds and photographed thoroughly first.
The Order, in Summary
Safety, source, evidence, water, drying, repair. In practice that means: get people out and the electricity off, work out where the water is coming from and stop it, photograph and video everything before it is moved, notify the insurer and record the reference, remove standing water and lift carpets, set up controlled drying in closed rooms, and only then start talking about repairs.
The two decisions worth taking slowly are what to throw away and what to open up, because both are irreversible. Everything else in the first day is reversible, and doing it in this order costs nothing beyond a little patience at the point where patience feels least natural. Where water has come through a ceiling from above, the additional steps are covered in our guide to water coming through the ceiling.
How we help with this
If the article describes a problem you actually have, these are the visits that deal with it.
- our full guide to leak detection
How each method works and when it is the wrong tool for the job.
- leak detection in London
Finding a hidden leak without opening the property up first.
Frequently asked questions
What is the very first thing to do when a house floods?
Deal with electricity before anything else. If the consumer unit can be reached without standing in water or touching a wet surface, switch it off. Do not operate switches or sockets that have been wet, do not unplug anything standing in water, and never stand under a bulging ceiling to place a bucket, because a plasterboard ceiling holding water comes down in one piece with cabling attached. Only once the electrical situation is resolved does the plumbing become the priority.
Should I start cleaning up straight away?
No, and it is the most common expensive instinct. Ten minutes of recording, done before anything is moved, cannot be repeated once a room has been mopped and cleared. Photograph every affected room wide from the doorway, record the water level against a fixed reference such as a skirting or door frame, capture damaged contents in place rather than stacked outside, and note the times of discovery and isolation. Then remove standing water, lift carpets and start drying.
How do I know whether it is a leak or a flood?
Look at the weather and the entry point. An internal escape produces clean water with no weather event behind it, is often warm, and gets worse when a particular system is running. External flooding arrives during or after heavy rain, enters at low level from outside and is usually silty. Rainwater ingress follows storms and shows at roof, window or chimney lines. The distinction matters because they are separate perils with different conditions on a buildings policy.
How long does a flooded house take to dry out?
Considerably longer than it feels. Surfaces dry quickly while plaster, screed, insulation, floor build-ups and the bottoms of stud walls hold water for weeks, and that water only leaves when the surrounding air is dry enough to accept it. Professional drying is measured rather than assumed, with readings taken from the same points over time until they return to a normal range for the material. A room that feels fine after five days often has weeks left in the floor.
Can I use the central heating to dry the house out faster?
Not on full, and not as the main method. Rapid uneven heat warps timber, lifts plaster, shrinks joinery and drives moisture deeper into cold parts of the structure where it condenses. Gentle background heat combined with dehumidification in closed rooms works far better. Running a dehumidifier in a room with the windows open achieves very little, because it spends its capacity on outside air. Judge ventilation by the weather: helpful on a cold dry day, unhelpful on a warm humid one.
The water smells foul. Does that change what I should do?
Yes, substantially. Foul water means drainage rather than a supply leak, and it is treated as contaminated. The priority shifts from saving property to health: keep children and pets out, avoid direct contact, wear gloves and wash thoroughly afterwards, and do not attempt to dry and salvage carpet, underlay or soft furnishings that have been in it. Photograph everything before disposal, because the record is still needed even though the items are not.