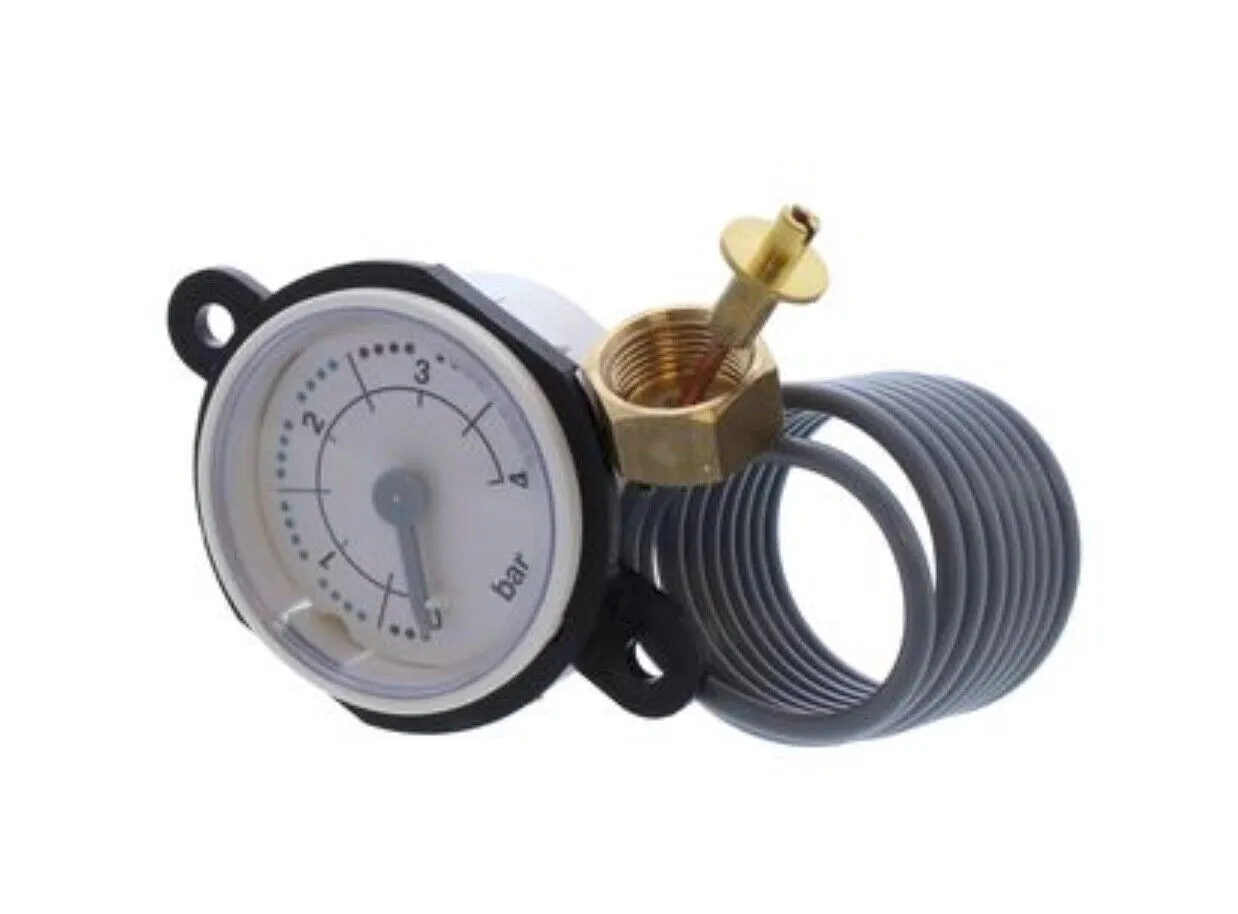
A heating system that loses pressure is losing water somewhere, and the rate of loss tells you roughly where to look. The checks worth doing yourself, how a sealed system is tested properly, and the point at which each detection method stops working.
A sealed central heating system is a closed loop. Once it is filled and the filling loop is disconnected, the water in it has nowhere to go. If the pressure on the gauge falls and keeps falling, the system is either losing water or losing the expansion volume that keeps the pressure stable. Those are two different faults with two different fixes, and separating them is the first useful thing anybody does.
This guide sets out how to read the pressure loss, where heating leaks actually occur in UK housing, which checks are worth doing before you call anyone, how a sealed system is tested properly, and the specific point at which each detection method stops being able to help.
What the Pressure Drop Tells You
The gauge is the most useful diagnostic instrument in the house, provided it is read against a clock rather than glanced at. Note the cold pressure, the time, and the pressure again at the same temperature a day later. A system read hot on Monday and cold on Wednesday has told you nothing, because the pressure rises and falls with temperature by design.
| Behaviour | What it usually indicates | Where to look first |
|---|---|---|
| Falls to zero within hours | A substantial escape | Visible water: radiator valves, pump, boiler tray, airing cupboard, ceiling below |
| Falls steadily over days, needs topping up weekly | A real but small loss | Concealed pipework, a weeping joint, a pinhole under a floor |
| Falls slowly over months | Often air being released rather than water lost | Repeated bleeding, an automatic air vent, a slowly passing valve |
| High when hot, low when cold, no net loss | Normal thermal behaviour, or a failing expansion vessel | Vessel charge pressure, not a leak |
| Pressure relief valve discharging outside | Over-pressure, commonly a failed expansion vessel or a passing filling loop | The discharge pipe and the vessel, before anything else |
Pressure loss with no leak at all
A failed expansion vessel is the classic false positive. The vessel absorbs the volume increase as water heats, and when its diaphragm fails or its air charge is lost, the pressure spikes when hot, the relief valve lifts, and water leaves the system through an external discharge pipe nobody ever looks at. The gauge then reads low when cold, which looks exactly like a leak. Checking whether the discharge pipe outside has been running is a two minute job that saves a great deal of searching. Our guide to a combi boiler losing pressure with no leak found works through that sequence, and boiler pressure loss causes and fixes covers the gauge itself.
Where Heating Leaks Actually Happen
Heating water is not the same substance as mains cold water. It is oxygen depleted, usually inhibited, often carrying magnetite, and it runs hot and then cools several times a day. That thermal cycling is why heating leaks cluster at joints and at the points where a pipe is restrained.
| Component | How it fails | What you see |
|---|---|---|
| Radiator valve gland or spindle | Packing hardens with age and cycling | Dampness at the valve, a stained skirting, a rusty mark on the floor |
| Radiator body | Internal corrosion pinholes the panel from the inside out | A dark weeping spot, often at the bottom edge |
| Compression joints under floors | Cycling relaxes the olive, especially on runs that were not clipped | Nothing visible. A pressure drop and a damp board or a warm patch |
| Push-fit joints in floor voids | Insert omitted, pipe not fully home, or the pipe pulled under load | Slow loss, sometimes intermittent as the system heats |
| Copper under screed without sleeving | Screed abrades or chemically attacks the pipe over years | Warm patch on the floor, slow persistent loss |
| Underfloor heating circuits | Pipe damaged during the original build, or a manifold connection | One zone underperforming plus continual pressure loss |
| Pump head and gaskets | Seal degradation | Corrosion staining under the pump in the airing cupboard |
| Boiler heat exchanger or internal pipework | Corrosion or fatigue | Water in the boiler tray, staining under the case |
| Automatic air vent | Seat fails and passes water instead of venting | Very slow loss with no wet patch anywhere in the house |
Why system water quality changes where leaks appear
Where inhibitor has never been dosed or has been diluted by repeated top-ups, internal corrosion accelerates and radiator pinholes become the likely failure rather than a joint. BS 7593, the code of practice for the preparation, commissioning and maintenance of domestic central heating and cooling water systems, sets out the cleaning, dosing and periodic testing regime that keeps that from happening. A system topped up every week is also being diluted every week, which is one reason a slow leak tends to produce a second, unrelated failure a year or two later. Our guide to sludge, corrosion and heating leaks covers the mechanism.
The Checks Worth Doing Yourself
None of these require tools beyond a torch and a piece of kitchen roll, and doing them first means the engineer starts from a narrower position.
- Record the cold pressure and the time, then read it again cold at the same time the following day. Write both down.
- Check the external pressure relief discharge pipe, usually a small copper pipe through an outside wall near the boiler. Damp, limescale streaking or a drip means the system is venting, not leaking.
- Look under and behind every radiator with a torch. Run kitchen roll around each valve, both ends, and along the bottom seam of the panel.
- Open the airing cupboard and look at the pump, the valves and the floor beneath them. Rust coloured staining marks a leak that has been happening for a long time.
- Check the boiler tray and the floor under the boiler casing.
- Walk the floors in bare feet when the heating has been running. A patch that is noticeably warmer than the rest of the floor, away from a radiator, is worth marking. Our guide to a warm patch on the floor explains what that indicates.
- Note whether any room or zone has stopped heating properly, which points towards a specific circuit.
What not to do while you are looking
Do not keep topping the system up indefinitely. Every refill introduces fresh oxygenated water and dilutes the inhibitor, and it hides the rate of loss that would tell an engineer how big the leak is. Note the top-up frequency and leave it at that. Do not lift floors or cut into a ceiling to look. The distribution of moisture across a floor void is the evidence of where the water travelled from, and the first person to open it up destroys that evidence. And do not leave a filling loop permanently connected: under the Water Supply (Water Fittings) Regulations 1999, a heating circuit containing inhibitor is a backflow risk to the wholesome supply and the loop must be disconnected after use.
How a Heating Leak Is Located Properly
A professional search on a sealed system is a sequence of eliminations, not a hunt for a wet patch. The order matters because each step removes possibilities that would otherwise have to be chased.
Isolate and test before searching
The first job is to establish that water really is being lost and from which part of the system. The circuit is isolated from the mains, brought to a known pressure and left under observation for a stated period. Radiator valves are then closed section by section to divide the circuit. A system that holds when the upstairs zone is valved off but falls when it is opened has just halved the search area without anybody lifting anything.
The instruments and what each one reads
| Method | What it detects | What defeats it |
|---|---|---|
| Pressure testing by section | Which zone or circuit is losing water | Valves that pass, or a system that cannot be divided |
| Thermal imaging | Surface temperature differentials over pipe runs and wet areas | Thick insulation, deep screed, a cold system, solar gain on the surface |
| Moisture meters | Extent of wetting and the direction water travelled | Conductive materials and salts giving false high readings |
| Acoustic listening | Escaping water under pressure | Low system pressure, a pump running, soft floor coverings, background noise |
| Tracer gas | Small breaches under screed or slab, once a section is drained and charged | Sealed floor finishes, ventilation moving the gas away, systems that cannot be drained |
| Pipe and cable location | Where the pipework runs before anything is cut | Dense reinforcement, plastic pipe with no trace wire |
Thermal work on building fabric has a documented basis: BS EN 13187 set out the infrared method for detecting thermal irregularities in building envelopes, and has since been replaced by BS EN ISO 6781-1. The value of citing it is not the certificate, it is the discipline it implies, namely that a thermal image is evidence only when the conditions under which it was taken are recorded alongside it. Where the leak is on an underfloor circuit rather than radiator pipework, the approach differs again, and our guide to underfloor heating leak signs and repair covers that case.
What These Methods Cannot Do
Every technique on that table has a boundary, and most wasted attendances come from somebody expecting a method to work outside its own.
Thermal imaging does not see through floors
A thermal camera reads the temperature of a surface. It infers what is underneath from a pattern on that surface, which means a pipe under a hundred millimetres of screed and an insulation layer may produce no readable pattern at all. It also cannot tell a leak from a normal warm pipe run, so an image without a pressure test behind it is suggestive and nothing more. Underfloor heating makes this worse, since the whole floor is warm by design.
Acoustic methods need pressure and quiet
A listening device hears water forced through a small opening. A heating system at one bar with a pump running is a poor acoustic environment, and a leak that is weeping rather than jetting may make no usable noise. Carpet and underlay absorb what noise there is. Acoustic work is far more productive on a pressurised mains cold supply than on a heating circuit.
Tracer gas needs a section that can be drained and sealed
The method depends on emptying a section, charging it with a hydrogen and nitrogen mix and detecting where the gas surfaces. If the circuit cannot be isolated, if the floor finish is impermeable, or if the room is being ventilated, the gas either cannot be introduced or cannot be found. It is powerful under screed and useless in a draught.
No method dates a leak to a particular day
Corrosion products, the extent of drying at the edge of a wet area and the condition of the failure point support a view on whether a failure was sudden or long standing. They do not produce a date. Any report that claims one is overreaching, and that matters whenever the timing of a loss is in question.
When It Is Not a Leak
Several faults look exactly like a leaking heating system and are not one. A failed expansion vessel, described above, is the most common. A pressure relief valve whose seat has been damaged by debris will pass continuously and drip outside. A filling loop left connected with a passing valve quietly refills the system, masking a real leak and keeping the gauge stable while water escapes somewhere else. An automatic air vent that has failed on its seat loses water so slowly that nothing ever appears damp. And a gauge itself can simply be wrong, which is worth eliminating before a floor comes up on the strength of its reading.
Once the Leak Is Found
Repair, then treat the system rather than just the joint. Where a pipe has been exposed under a floor, it is worth looking at the rest of the run in the same void, because a failure caused by cycling or by contact with screed is rarely unique to one point. Where the failure was corrosion, the system water is the underlying problem and refilling without cleaning and dosing sets up the next one.
What to do after the repair
- Clean and dose the system in line with BS 7593 rather than simply refilling it.
- Record the cold pressure the day after the repair and again a week later, to confirm the loss has actually stopped.
- Have the boiler and any gas work carried out by a Gas Safe registered engineer, which is a legal requirement for work on gas appliances.
- Keep the exposed floor void accessible until you are satisfied the loss has stopped, rather than reinstating the same day.
- Photograph the failure point and the repair before anything is closed up.
If the loss continues after all of that, the sensible next step is a proper instrumented survey rather than another guess. Our central heating leak detection page sets out how a sealed system is tested and what the attendance covers.
How we help with this
If the article describes a problem you actually have, these are the visits that deal with it.
- our full guide to leak detection
How each method works and when it is the wrong tool for the job.
- central heating leak detection
For a boiler losing pressure or a circuit that will not hold.
- leak detection in London
Finding a hidden leak without opening the property up first.
Frequently asked questions
How quickly should a central heating system lose pressure?
A healthy sealed system should hold its cold pressure for months with only a small seasonal variation. Topping up once or twice a year after bleeding radiators is unremarkable. Topping up weekly means water is leaving the system and something needs finding. The useful measurement is not the number on the gauge but the rate: record the cold pressure and the time, then read it cold again twenty four hours later. A rate of loss tells an engineer roughly how large the escape is before anyone lifts a floor.
Can a heating system lose pressure without leaking?
Yes, and it is common. A failed expansion vessel lets the pressure spike when the system heats, which lifts the pressure relief valve and discharges water through a pipe outside the wall. The gauge then reads low when cold, which looks exactly like a leak. A relief valve damaged by debris, a passing filling loop and a failed automatic air vent produce similar symptoms. Checking the external discharge pipe for damp or limescale streaking takes two minutes and rules out the commonest false positive.
Where do central heating leaks usually occur?
Radiator valve glands and the bottom seams of corroded radiator panels account for a large share of the visible ones. The concealed ones cluster at compression and push-fit joints in floor voids, where repeated heating and cooling relaxes a fitting, and on copper laid in screed without sleeving, where the screed abrades or attacks the pipe over years. Pump gaskets, boiler internal pipework and underfloor heating manifolds make up most of the rest. Thermal cycling is the common factor in nearly all of them.
Will a thermal camera find my heating leak?
Sometimes, and only within its limits. A thermal camera reads the temperature of a surface and infers what lies beneath from the pattern it sees. Thick insulation, deep screed, a system that has been switched off, and solar gain on the floor all suppress that pattern. It also cannot distinguish a leak from a normal warm pipe run, so an image is suggestive rather than conclusive unless a pressure test sits behind it. On underfloor heating, where the whole floor is warm by design, it is weaker still.
Should I keep topping the system up while I look for the leak?
Only enough to keep the heating usable, and note every top-up with a date. Repeated refilling introduces fresh oxygenated water and dilutes the corrosion inhibitor, which accelerates the internal corrosion that causes radiator pinholes, so a system topped up weekly tends to produce a second failure later. It also hides the rate of loss, which is the most useful single piece of diagnostic information available. Leave the filling loop disconnected between top-ups rather than leaving it permanently in place.
Do I have to lift the floor to find a heating leak?
Not to find it. Sectional pressure testing, moisture mapping, thermal imaging and tracer gas are all designed to narrow the search while the floor is still down, and the point of doing them first is that the moisture spread across a floor void is itself the evidence of where water travelled from. Opening up should come after the source has been located or tightly bounded, so that a small agreed aperture is cut in the right place rather than several exploratory ones in the wrong places.